How to Screen Record on Mac (With or Without Audio)
How to screen record on Mac is a crucial feature for sharing tutorials, capturing presentations, and showcasing projects. There are several ways to do it, including built-in Mac programs and third-party tools like Loom, which provide additional functions. This article will walk you through the steps for each method on how to screen record on Mac like a pro.
How to screen record on Mac

Here’s how to begin Mac screen capture using your Apple computer’s built-in feature.
- Open the screen recording tool. Press Command + Shift + 5. This will display the screen capture toolbar. You can alternatively launch QuickTime Player and select File, then New Screen Recording to open the window.
- To access Mac’s screen recording feature, click the toolbar that appears after hitting Shift + Command + 5.
- Choose a recording area: On the toolbar, you’ll find options for what to record: the entire screen, a selected window, or a portion of the screen
- If you wish to record the entire screen, select the screen icon from the left. If you want to record a specific section of the screen, drag it to pick it.
- Choose your desired settings before you begin recording.
- Recording Settings: Before you begin recording, you can make several adjustments.
- To pick where to save your video, click “Options.”
- You can also use a countdown timer if you need a few seconds to prepare before the recording begins.
- Want to record audio? If you wish to record your voice as well as the screen activity, go to the Options menu and select your microphone.
- Press the Record button and you are ready to go.
- Begin recording: When everything is ready, click the “Record” button. A little circle will show in the upper right corner of your screen to indicate that the recording is active.
- Stop recording: When you’re done, click the circle icon in the menu bar or press Command + Shift + 5 again to select “Stop Recording.” Your video will be stored in the location you specify.
See our guide on How to Take Screenshot on Mac
How to screenshot on Mac with shortcuts
Apple’s macOS operating system contains various shortcuts for taking screenshots of the entire screen or specific areas of the screen.
To utilize them, concurrently press one of the three key combinations listed below on your keyboard. We’ll go over each of these below, but first, here’s a quick summary of the shortcuts:
- Shift+Command+3: Capture an image of your entire Mac’s screen.
- Shift+Command+4: Capture a portion of your Mac’s screen that you select.
- Shift+Command+4, then Space: Capture a window or menu.
- Shift+Command+5: Open the Screenshot app interface.
- Shift+Command+6: Take a screenshot of the Touch Bar on a Macbook Pro.
Screen recording Mac with Audio
We will share 4 ways to screen record on Mac with audio. Also, we have discussed How to Connect Airpods to Mac in 3 Simple Steps
1. Using Screenshot Toolbar
- To launch the Screenshot Toolbar, press Shift + Command + 5.
- Select your audio input source by clicking the “Options” option.
- To initiate audio-enabled screen recording, click the record icon.
- When you’re finished, click the stop button to save the recording.
The Screenshot Toolbar provides an easy and convenient way to capture your Mac’s screen and audio. It’s an excellent starting point for learning how to screen record on a Mac and capture audio with ease.
2. Using Screen Story
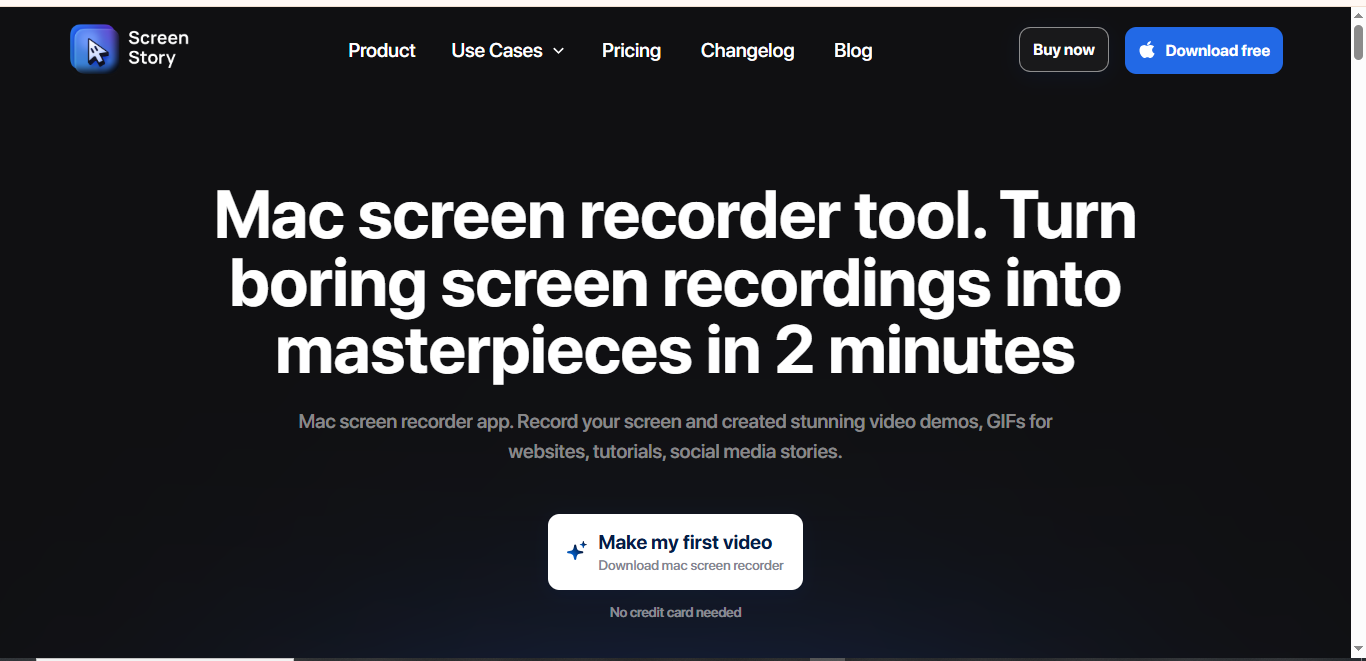
Screen Story is the easiest way to screen record on Mac and capture audio. This easy-to-use program captures both your screen and audio simultaneously. With a few clicks, you can begin recording tutorials, gameplay, presentations, and other content.
-
Step 1: Launch the Screen Story app.
Start by launching the Screen Story app on your Mac. Make sure you allow the required Accessibility and Screen Recording permissions.
-
Step 2: Choose Your Recording Area.
Click the “Choose Screen” button to select the window or application you want to capture. You can choose to record your entire screen or a specific section.
Locate the window you wish to capture and select the button Select screen.
-
Step 3: Record Your Video
Once you’ve determined your recording location, select a camera and microphone. Then start the recording by tapping the “Record” button on the Screen Story app. Screen Story will record everything inside the specified recording area. To stop recording, select the “app icon” at the bottom (Dock) or the red button at the top (Menu bar).
-
Step 4: Optional Video Editing.
Screen Story automatically generates zooms in response to the user’s mouse clicks while recording. If necessary, add custom zooms or use Screen Story’s basic video editing capabilities to cut, improve, and refine your clip to your liking. After any necessary editing, save your video in the format you desire, such as MP4, GIF, 60 FPS, or 4K.
So, can I record a screen on my Mac with sound? Absolutely, with Screen Story!
3. Using QuickTime Player.
Here is a breakdown of how to screen record using QuickTime Player.
- Launch QuickTime Player.
- Click “File” and choose “New Movie Recording.”
- Click the arrow next to the record button to select your audio input source.
- Click the record button to begin recording your screen and audio.
- When finished, click the stop button to save your recording.
QuickTime Player is a simple option for Mac users who want native solutions.
You can learn How to Take Screenshot in Laptop (Shortcuts & Snipping Tool)
4. using Capto
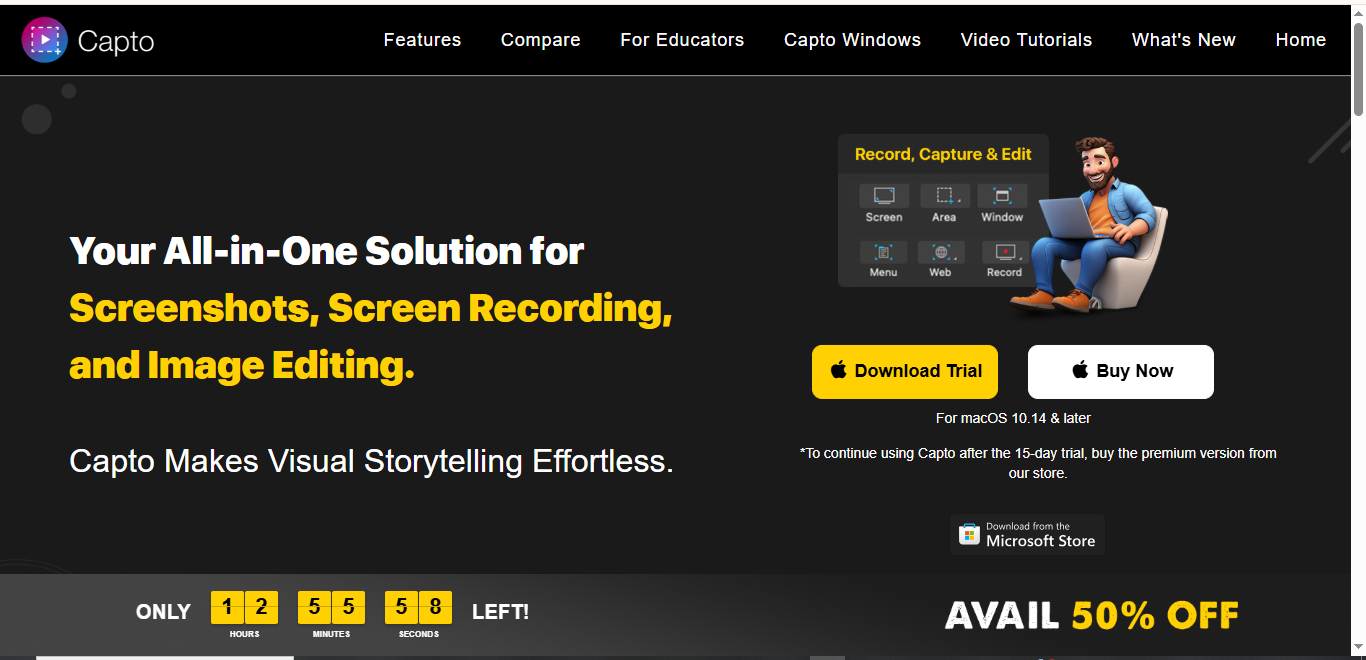
Capto is a complete screen recording and video editing application for Mac users. Here’s how you utilize it:
- Download and install Capto. Download and install Capto from the App Store on your Mac.
- Open Capto: Launch Capto to enter the main interface.
- Select the Recording Area: Click the “Record” button and select your recording location. You can capture the complete screen or a specific portion.
- Audio settings: In the recording options, select your favorite audio input source, whether it’s your microphone or system audio.
- Begin recording. Click the “Record” button to begin recording your screen and audio.
- Edit and Save: After recording, Capto offers editing tools to help you improve your video. Once you’re satisfied, save your recording.
How to stop screen record on Mac
To turn off screen recording on a Mac, you can
- Click the Stop button in the navigation bar.
- Press Command-Control-Esc (Escape).
- To return to the Screenshot utility window, press Command-Shift-5, which will display the option to stop recording.
- Use Activity Monitor to stop the recording. Open Activity Monitor (Applications > Utilities), search for “screen,” choose the Screenshot process, and then click the (X) Quit symbol twice.
- Turn off the ability to record for each app listed in the Screen & System Audio Recording settings under Privacy & Security in System Settings.
Conclusion
How to screen record on Mac allows you to share your knowledge, show off your work, and produce compelling videos. Whether you use the built-in QuickTime Player, the sophisticated OBS Studio, or third-party solutions, you can capture every click and sound with ease.