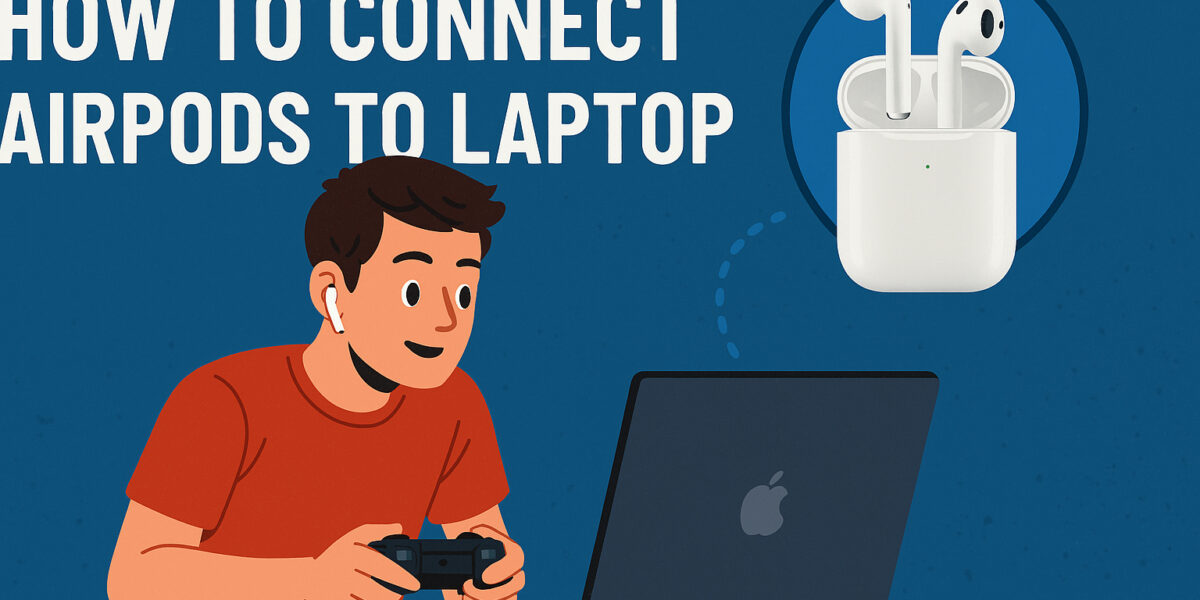
How to Connect Airpods to Laptop (Windows & Mac)

Wireless earbuds are popular right now, but Apple’s AirPods reign supreme. They are bestsellers in the category, and for good reason: Apple’s earbuds feature a long battery life and excellent HD audio quality. AirPods are primarily meant for iOS smartphones; however, they also function with other devices!
This post will explain how to connect AirPods to laptop, how to reconnect them after pairing, why your AirPods won’t connect to your computer, and how to fix it. Also, we have discussed How to Take Screenshot on Mac
Let’s get started!
How to Connect AirPods to Windows laptop

How to connect airpods to a laptop may take a few minutes to figure out. Yes! You are not to be blamed; it took me 3 days to connect mine. Understand that airpods functions like any other Bluetooth device; and as such, you can connect them to windowsa laptop whether for kids, MSI gaming, movies or music.
When connecting airpods to a Windows laptop, there are a few steps to take. We have listed them below:
- Connecting your Apple earphones to your PC does not require an HDMI cable, software, or any extra programs.
- Connecting AirPods to a computer is as simple as placing the AirPods in pairing mode and turning on Bluetooth on the laptop.
Here’s how to connect your Arpiod with Windows laptop
- Open your laptop’s settings from the start menu. You can also access your settings by typing ‘Settings’ into the Start menu search box.
- Click on ‘Devices.’
- Click on ‘Bluetooth & other devices’ and ensure that Bluetooth is turned on. To do so, toggle the switch at the top of the section. You may also toggle it on and off in the Action Center on the taskbar.
- Next, click ‘Add Bluetooth & other devices’ and select Bluetooth from the ‘Add a device’ window.
- To connect AirPods to a PC, place the earbuds in pairing mode. Check the battery status, as the process requires at least 20% charge. Once open, push and hold the button on the back of the case.
- After a few seconds, the status light on the front of the case will begin to pulse white.
- The AirPods will then appear in the ‘Add a Device’ window, which lists all available devices. They might appear as ‘Headphones’ and then display the name you gave them, such as ‘AirPods.’ Select the device, wait for the AirPods to associate with the computer, and then hit ‘Done.’
How to connect AirPods to MacBook
Make sure your AirPods are at least partly charged and placed in the charging case. While a full charge is not required, pairing does consume some battery life. Here is how to connect Airpods to Mac.
Step 1: Open Bluetooth settings on your Mac.
- Click the Apple logo in the upper left corner of your screen.
- Select System Settings (or System Preferences for older macOS versions).
- In the sidebar, click Bluetooth.
Step 2: Place your AirPods in Pairing Mode.
- Ensure that your AirPods are inside the charging case.
- Close the lid and wait a few seconds for the light to turn off.
- Open the lid.
- Press and hold the setup button (on the back of the casing) until the LED blinks white.
Step 3: Connect the AirPods to your Mac.
- In Bluetooth settings, locate your AirPods (for example, “AirPods”).
- Click Connect next to your AirPods.
- Once connected, you’ll see the word “Connected” next to them.
Conclusion
AirPods are designed for iPhones, but they may also be used with laptops. They work well with MacBooks and other Macs, providing complete control over active noise-canceling features and an easy battery report directly in the Control Center.
AirPods can also be connected to a Windows laptop as long as it supports Bluetooth; however, the active noise reduction functions cannot be controlled from the laptop.


